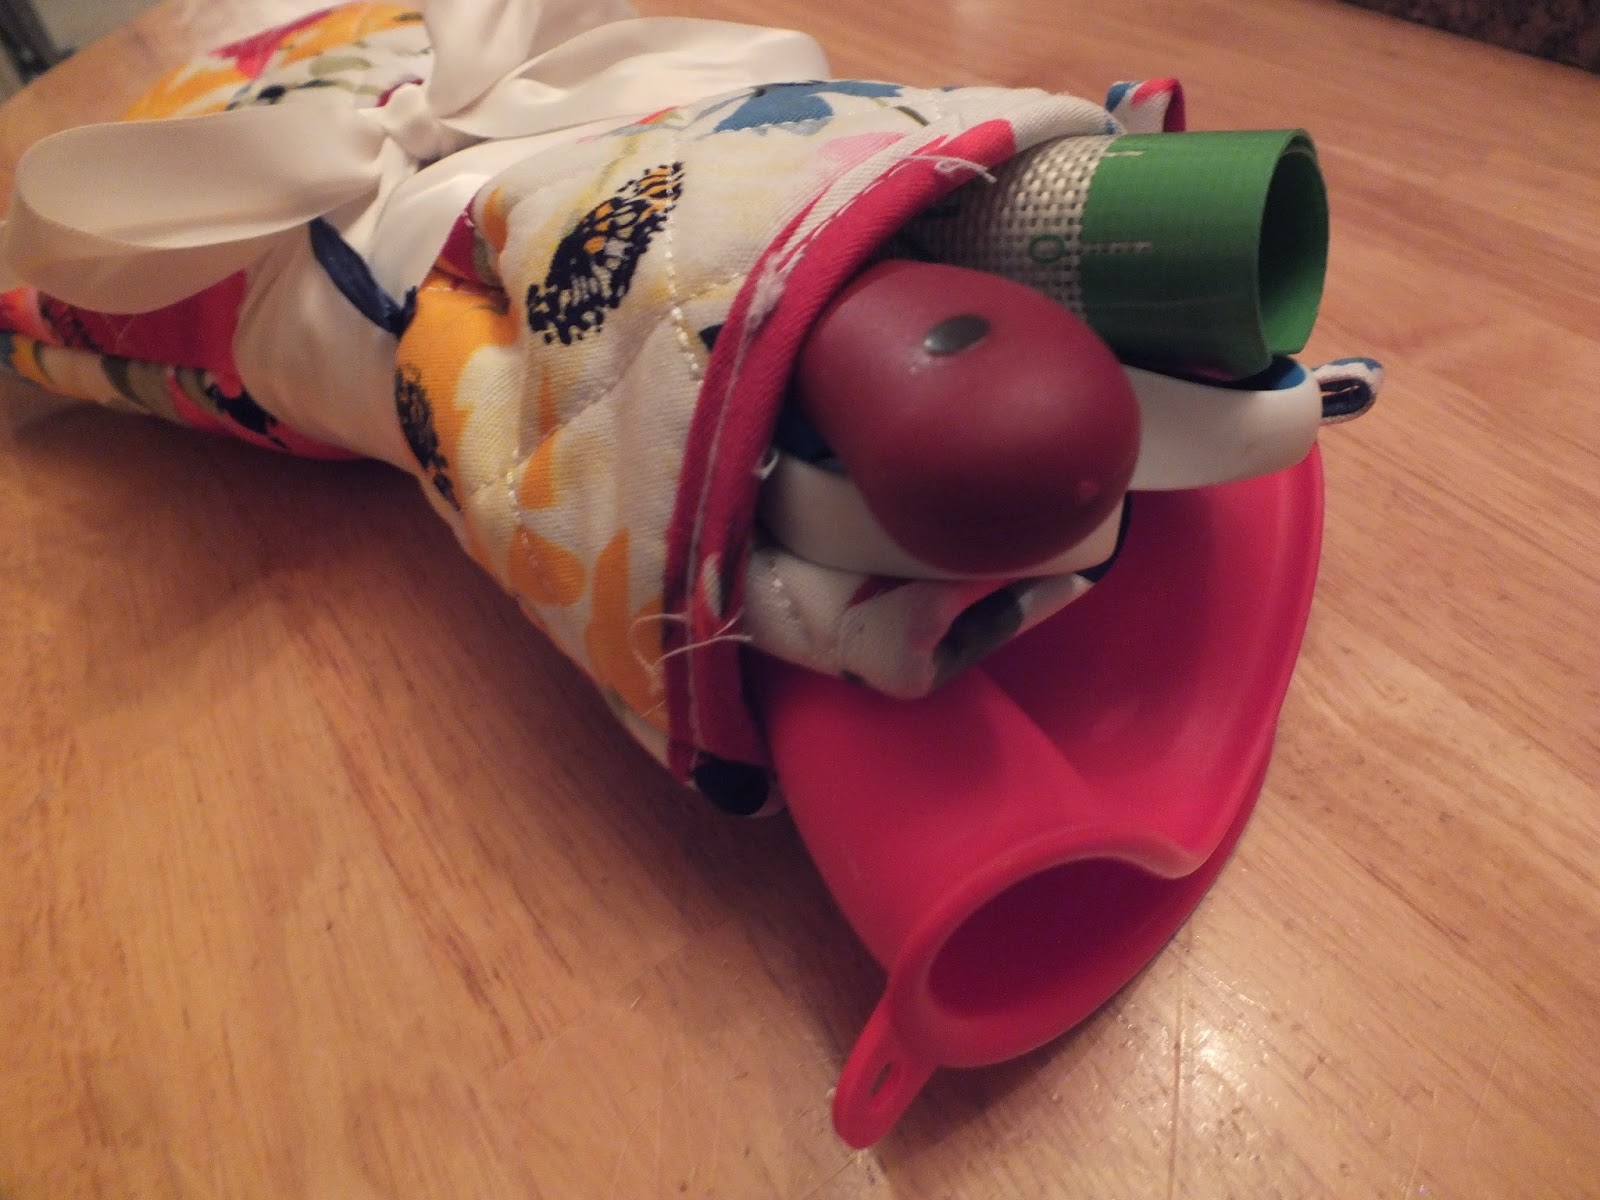
The next pictures are of the little goodies left in the teacher lounge at the school. I was not sure at all if the Parent-Teacher group was planning on doing anything for the teachers so I wanted to make sure they got something each day. The first day was something I had around. Then we did fish goodies, cookies, and finally nuts. The last day of the week I knew they would be getting something along with all of the moms. The tag on the fish was a printable I found here. The other two I just made.
This is for my craft projects. I'm still working on getting good at all of this but it is fun to pick up something new.
Thursday, May 08, 2014
Teacher & Staff Appreciation 2014
Teacher Appreciation 2014
Tuesday, March 11, 2014
Reward Chart
Our 4yo has been needing something for rewards because she has great days and then she has days where we are repeating ourselves like a million times for each request. And I am just looking for some new discipline/"good job" for her to change it up a bit. I got everything from Micheal's after just walking around the store a bit. I painted and then hot glued. The hot glue was not too pretty, especially for the small letters I used for the names, but it got the job done. And since I had helpers it did not end up being completely straight either. I was so impressed with all the easy magnet and wall putty that I found. Things are really getting easier.
It is all wood parts that I painted. The borders for each kid's area is craft tape. The magnets came in those sizes and then I cut a long strip of magnet to stick to the backs of the stars. All of the magnets came with adhesive backing.
The kids have already started playing with the stars. We will have to hang it up and let them play with the stars only when told to.
Dinner Menu
I'm not great at meal planning for a week, so I have been hoping that if I make something crafty that needs to be used then I will use it. I got everything at Micheal's after just walking around the store. I painted and then hot glued. Hot glue is not the cleanest looking, but it worked.
The frame/backing and the letters are wood parts that I painted. I bought a pack of clothespins already painted and labeled with the days of the week.
It will quickly get hung in the kitchen and I will start filling out paper with what we currently eat for a planned dinner. So now my husband will hopefully stop asking (or at least I will have an answer).
Tuesday, February 04, 2014
Mini Princess Cakes
So these were harder than I imagined, but still turned out cute enough for the ones eating them. The idea started with the barbie in the bundt cake. I saw a mini bundt cake pan and thought they would work great for a princess party. Then I saw the little disney princess figurines and hoped I could make the cakes around them. Some of them would definitely look odd, but I did not think the girls would care too much. So here I go....
I made the bundt cakes, filling up the pan just like a normal cup cake. For most of the princesses, I only cut the cakes in half and then hollowed out the middle. I then used icing and stuck the modified cakes onto the washed figurine.
I did not worry about some gap since I could fill those up with icing later.
Other than my icing skills not be great, and a bit rushed, it was easy to ice the cakes to look like ruffles on a dress. To make it easier on me, I just used the same color for all of the figuring skirts.
Some tips which are probably known to folks that do this kind of thing, but not to me, the bundt cakes I had made a few days prior were easier to stick to the princess. Also, the ones which I used only two halves worked best at staying together. Some of the princesses were odd shape and some were really full skirts already, so I had to either cut more than in half or use more than a single cake to wrap around them.
Princess Tea Party
So we had a princess tea party this year. It was a girl party which cut down on the amount of little people in our house and also meant we might have room to move around.
We had tiaras for all the girls to put on and extra dresses if someone did not come with one.
Then we did some fan painting. The idea was going to be a little different or I would have put some glitter out to add to the fans.
The food was just simple food that might be tea party-ish but kids will eat, fruit, veggies, ranch and hummus, turkey and cheese roll-ups, and some sausage kolaches cut for bit size. And then instead of tea we had hot chocolate out of tea pots and drank from tea cups.
The girls each got their own cake, and figurine to take home. Look here for tips on the cake. The good bags also included a princess pez, a ring, princess duck, and one additional princess item different in each bag.
Sunday, September 15, 2013
Vacation Bible School snacks
Mostly for my records and memory. If I ever do this again. I did not take a picture of everything. Serving 250 kids everyday takes a lot more work than I was expecting. Mostly because the big groups are really large.
Monday: Family Boats
These were shredded wheat boats with teddy grahams for each member of the kids' family. The boat went into blue milk for the first group. We decided that was too messy so the rest of the groups just ate their boats with teddies and drank their milk without mixing the two.
The boats were a lot of work to make and probably not worth it since we did not end up using them as boats. If I were to do this again, I would just do "flat" boats.
Tuesday: Friend Faces
These were pretty simple to put together. We put all of the stuff on a plate for the kids to makes faces with, and spooned out sauce to those that would take it. We just had a juice for them to drink. It is actually a lot of work to put together the place and drinks, and then put them out for the kids before they come into the room. I did not realize what that would take.

Wednesday: Rocky Road & Green Guzzler Drink
We put together plates and took off the tops of the pudding cups. The drinks involved scooping out sherbet and adding lemonade and sprinkles on top.
I would split these two up next time. The drink would have been great to go with the butterfly which was put together at the house prior to. Scooping took longer than I expected

Thursday: Butterflies, made of fruit and cheese
These were actually a lot of work, but the work was done at the house so the day of serving was easy. The cheese was bought as a block and the grapes and strawberries needed to be sliced as well. It was probably more work making sure there were some for each kind of allergy present.
Friday: Cross Dippers and S'more Cups
I did not catch a picture of either of these. The crosses were made of the refrigerated bread and we had some dipping sauce for them. The bread had to be sliced in half and then the cross was made and baked in the oven. It was probably hardest to get the oven to work. After that it went fast, just kept someone in the kitchen cooking the whole time since we were slow to get the oven working.
The s'more cups were just golden graham type cereal, mini marshmallows, and chocolate chips mixed together and put into a bowl. Easy, but would have been better to mix and put into a snack bag while at the house since we had the bread cross cooking in the kitchen.
These were shredded wheat boats with teddy grahams for each member of the kids' family. The boat went into blue milk for the first group. We decided that was too messy so the rest of the groups just ate their boats with teddies and drank their milk without mixing the two.
The boats were a lot of work to make and probably not worth it since we did not end up using them as boats. If I were to do this again, I would just do "flat" boats.
These were pretty simple to put together. We put all of the stuff on a plate for the kids to makes faces with, and spooned out sauce to those that would take it. We just had a juice for them to drink. It is actually a lot of work to put together the place and drinks, and then put them out for the kids before they come into the room. I did not realize what that would take.
We put together plates and took off the tops of the pudding cups. The drinks involved scooping out sherbet and adding lemonade and sprinkles on top.
I would split these two up next time. The drink would have been great to go with the butterfly which was put together at the house prior to. Scooping took longer than I expected
Thursday: Butterflies, made of fruit and cheese
These were actually a lot of work, but the work was done at the house so the day of serving was easy. The cheese was bought as a block and the grapes and strawberries needed to be sliced as well. It was probably more work making sure there were some for each kind of allergy present.
Friday: Cross Dippers and S'more Cups
I did not catch a picture of either of these. The crosses were made of the refrigerated bread and we had some dipping sauce for them. The bread had to be sliced in half and then the cross was made and baked in the oven. It was probably hardest to get the oven to work. After that it went fast, just kept someone in the kitchen cooking the whole time since we were slow to get the oven working.
The s'more cups were just golden graham type cereal, mini marshmallows, and chocolate chips mixed together and put into a bowl. Easy, but would have been better to mix and put into a snack bag while at the house since we had the bread cross cooking in the kitchen.
Melted Crayon Art
I had this idea in my mind for a while now. I finally had an occasion to do it and it turned out well. I have read and seen how not everyone's ended up as nice as all those others. I'm glad that was not the case for me. I used a very small travel hair dryer since that is all I have. The heat was enough and all I had to do was make the wax go down. Not all of the crayons melted well, but they still turned out working just fine.
I did it all after the kids went to bed and I was done cleaning the day away. I don't stay up too late so it probably took somewhere between 30 minutes to an hour for everything, including cutting and tearing the crayon paper off.
I wanted a picture of the man and woman to be in the crayon wax so I cut out what I wanted and glued that down before melting the crayons. Then most of the wax went around the image and I was able to easily glue a clean image on top for the look I was going for. It took a bit more hot glue than I thought to keep all of the crayons in place. I also only used half crayons above the silhouette because I wanted to minimize the amount of wax in that area. As you can see later it didn't really seem to matter much.
I put the canvas in a paper bag when melting the wax. I just wasn't sure how messy it would be. It did end up going over the sides and bottom so I was glad I put the whole thing in a bag since I was working inside. I am sure that keeping the blow dryer aimed straight down the whole time would have kept it from going over the sides as much.
This is what I looked like when I finally stopped heating it up. I could have melted a lot more of the wax but was happy with the look at that point.
Then I put a white cutout of the silhouette over the green so it would really look how I wanted it to. All in all I was happy with my first go of it. If I ever do it again I will probably make sure to melt all of the crayons more because it would probably be a better finished look.
From Wedding to Baptism: Using a wedding dress
So way back when I was planning the wedding, I read one of those bride magazines. It was really the only one that I read because I am not the sort to read that stuff. Anyway, I read the idea of using your wedding dress as your child's baptism (christening) outfit. I decided at that point that if we were blessed with a child, this is what I would be doing with my dress. Of course I did not really think it would happen, so I went ahead and did the antiquing thing with the dress. Now, five years later, we have three kiddos and each of them had a special outfit for their special day.
![]() |
| This is my wedding dress, although mine was champagne instead of green. |
My mom made the outfits for me. I am still not a seamstress with talent for more than simple stitches. I picked out the pattern I liked, and she started cutting up the dress for a boy and a girl outfit (we did not find out the sex with the first).
| This is a headband made with material from the dress as well. |
Then the second was another girl so she had to get creative with a second girls dress. The top and underlining are just a white cotton material. The sleeves and top layer of the dress are from the wedding dress.
Then we had a boy and she put together the material cut from the first one.
Now all of the dress has been used, and each child has something that hopefully will be passed down unlike the wedding dress.
Friday, August 02, 2013
Grandpa's Hands
This is what our "kids" gave to their grandfather for Father's Day this year. We call him Pahka in case that wasn't obvious.
Here's the words of the poem:
Grandpa's Hands
When I was just a child and
You would hold my hand
I didn't have to worry,
I didn't understand.
As I grew and
Learned to stand on my own,
Sometimes I was scared and
I felt all alone.
But then there you were standing by my side.
You held my hand again and
Taught me not to hide.
I am older and wiser now.
Now I understand.
The strength that lives within me
Comes from my grandpa's hand.
Wednesday, July 10, 2013
Daddy's Hands
This is what the "kids" crafted for their daddy this Fathers Day.
Here are the words to the poem I used:
Daddy, take my hand in yours and you will plainly see,
How very much I need you now to love and care for me.
As my little hands grow, I will need you even more.
Everything I do in life, I have never done before.
Teach me to be kind and loving, sharing and forgiving.
Show me through your acts of love the pure joy of living.
The years will pass by quickly and one day I will be grown.
I will pass what you have taught me onto children of my own.
Hold me always in your thoughts and remember when we are a part
The special love between a child and a daddy's heart
Monday, July 08, 2013
Ice Cream Cone Cupcakes and Icing
I just used box cake mixes to save on time. I did however make some stabilized whipped cream icing (which is at the end). It was so yummy. I think cool whip sells some now but we would never be able to find something like that in the stores near us. The cupcakes were so easy to make. The cones stand up well all on their own, just be careful when moving the pan in which they are standing. I filled them anywhere from 2/3 to close to 5/8 full because I wanted to see which turned out best. I think the 3/4 full cones turned out best, but it is kind of hard to get that close. And it fills more than I was expecting. One box of cake mix filled all these plus more than one additional cupcake pan. But the icing recipe covered this amount of cones.
Stabilized Whipped Cream Icing
1 cup of heavy cream
1/4 cup powdered sugar
4 tsp of cold water
1 tsp of unflavored gelatin
1/2 tsp of vanilla (I used the regular stuff without any color issue)
Dissolve gelatin in warm water. Can do this is microwave in 20 sec intervals if desired.
Whip cream, sugar, and vanilla until slightly thickened.
Then beat slowly while gradually adding gelatin to whipped cream mixture.
Whip at high speed until stiff
Makes 2 cups of icing.
Country Picnic Party
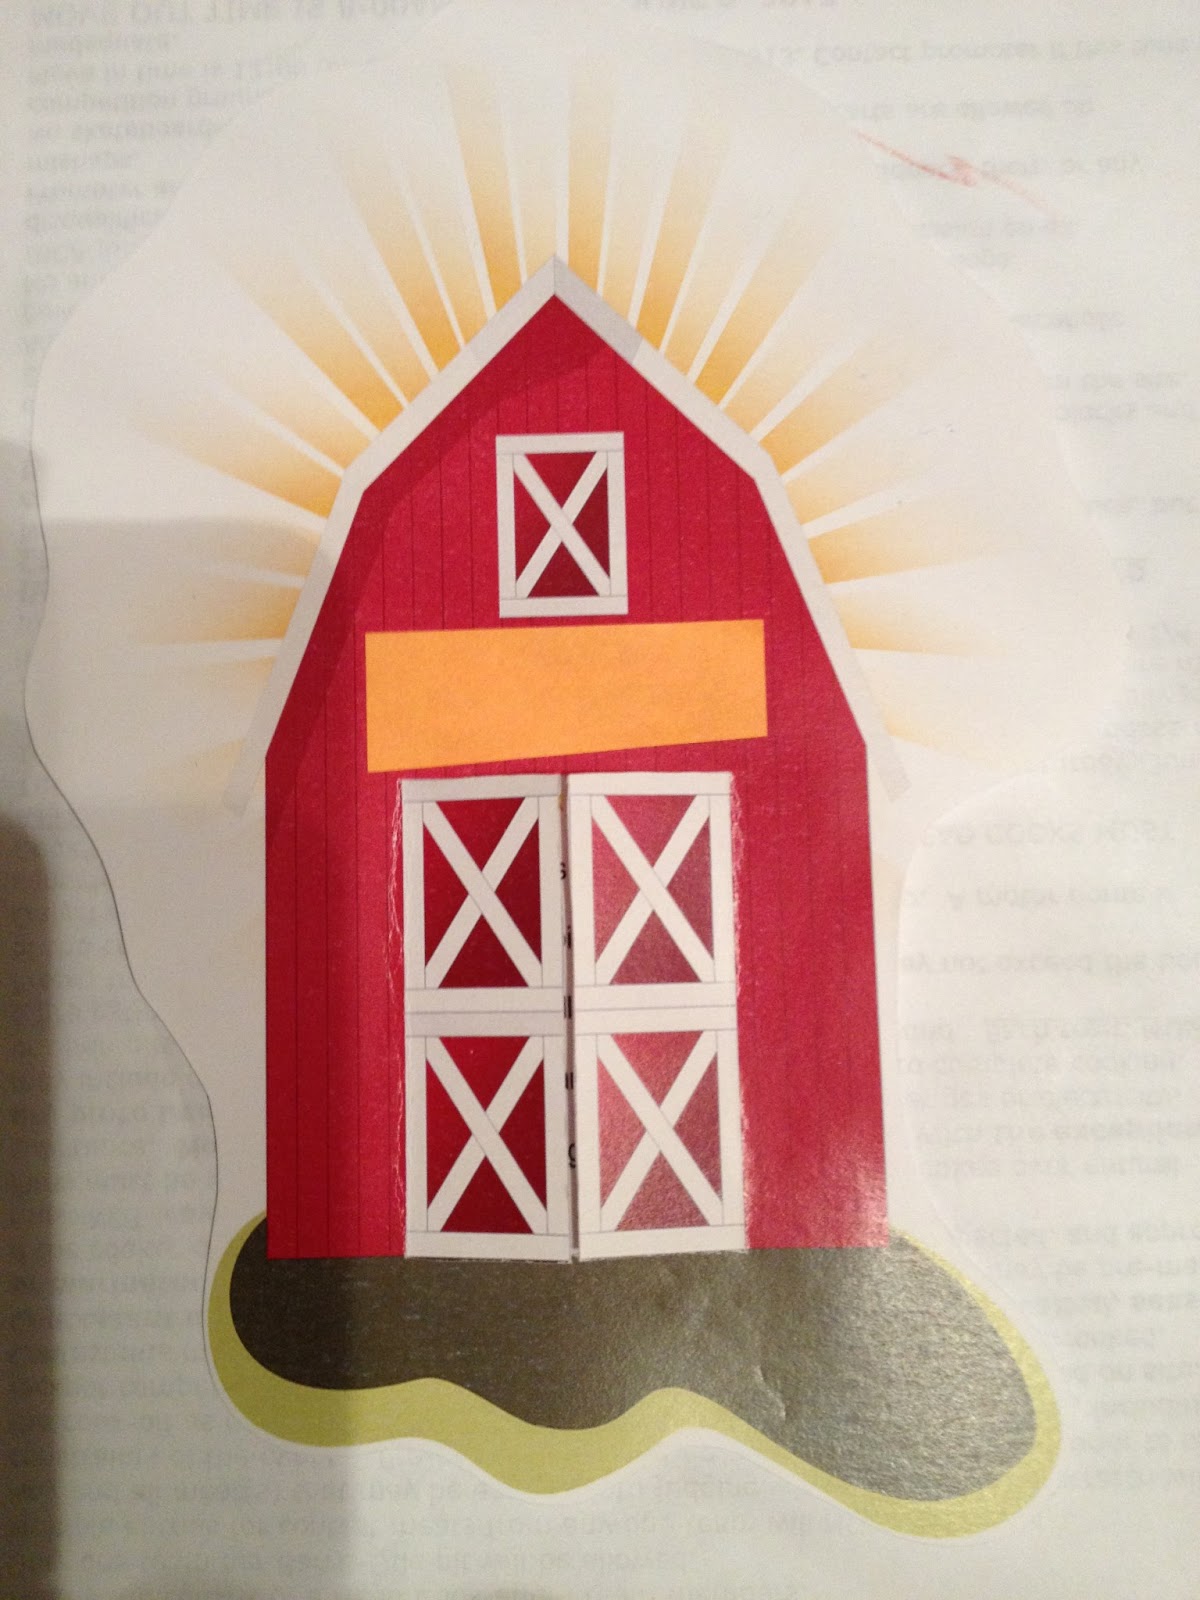
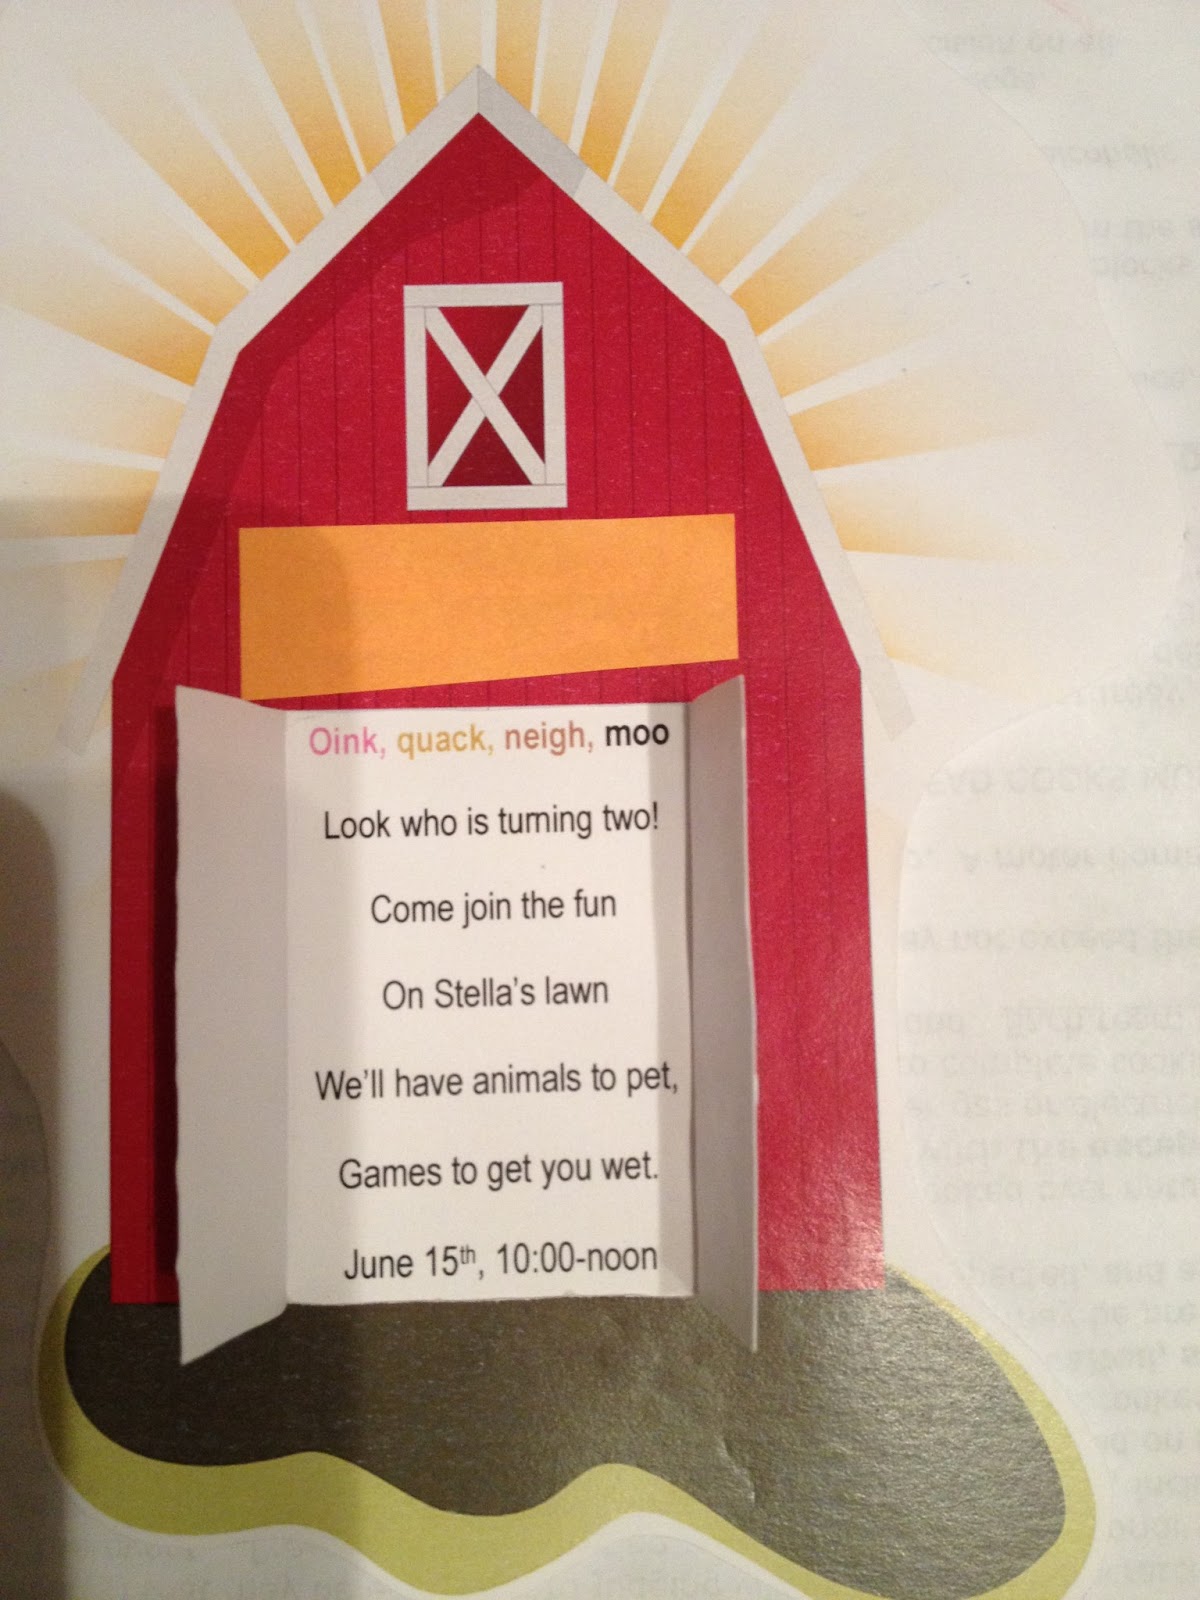
Ours was country picnic, I guess it could be any farm theme or just an outdoor party of some sort. The invites we're barns which had doors open to the invite wording. We had a petting farm come for entertainment and some water slides, pools, and guns out to play with and in.
| Oink, quack, neigh, moo Look who is turning two! Come join the fun on baby's lawn. We'll have animals to pet, Games to get you wet. |
We served watermelon on a stick and ice cream cone cupcakes. The meal food and other snack food were all just quick and easy items.
The favors weren't greatly associated with the theme, but were kid of cute. Popcorn boxes with pinwheels, farm "duckies" and some treats.
| Cut the rind to make it easier to put the stick in. |
| Ice Cream Cone Cupcakes with Stabilized Whipped Cream Icing and Sprinkles |
The favors weren't greatly associated with the theme, but were kid of cute. Popcorn boxes with pinwheels, farm "duckies" and some treats.
Friday, May 03, 2013
Wine and Appetizer Pairing
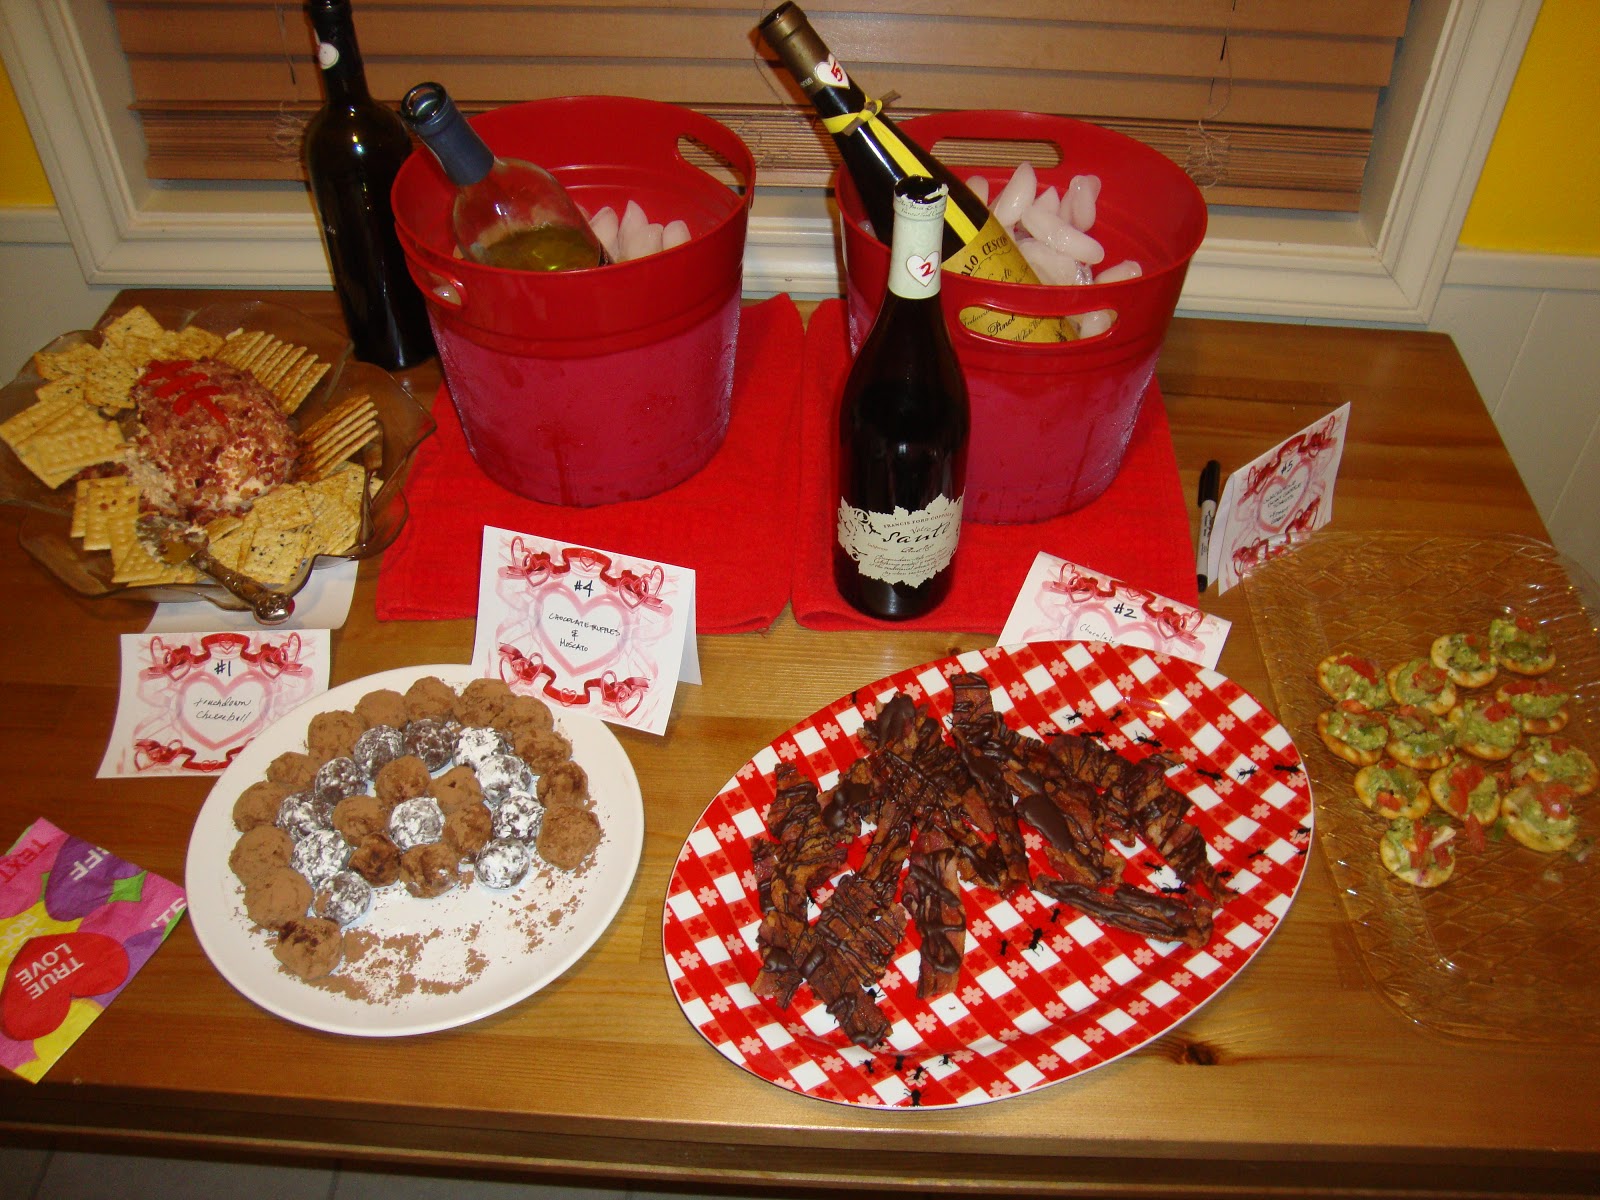
So we have been having a pairing party once a year to have a few friends get together for something different. I didn't do a post last year so I added that food to this one. I just like to keep track for what is brought.
| baked brie, cream cheese topped with jalapeno jelly |
| cheese ball, truffles with cocoa or powdered sugar, bacon with dark chocolate drizzled on it, cracker with a guacamole-type dip |
Subscribe to:
Posts (Atom)