Saturday, March 31, 2012

Nursing Covers

I forgot that these were my first practice project for sewing.  I had actually made one for my first, but that was a terrible thing.  I did not know to fold under the seams or do anything like that.  The first time I washed it caused it to fray all over and it was never holding since I did not make the hooks tight enough.


The second time was much better. I used the same basic pattern but made them much smaller. I guess the larger cover is nice, but it always seemed too big and got in the way for my taste.


Here is the link to the pattern that I found and used: http://blisstree.com/live/free-pattern-to-sew-your-own-nursing-cover/

Tuesday, March 27, 2012

Bunny Slippers


I saw this pattern from Amy Herbst and had to try making them.  I know several girl babies that might need something cute on their feet for Easter, so I tried making several of them.  I had never made the zig-zag stitch, so that was pretty cool to watch the needle jump back and forth.  I definitely still need some work on my skills, but the work is getting more fun!  I used just some balls which I glued on as well as just gluing on the nose.  Gluing on th enose seemed to work fine.  At least one eye on every pair has fallen off, which is not so great with infants...


Check out the pattern.

Chalkboard Placemats

I wanted to get some placemats for a birthday favor at my daughter's birthday party.  I found some
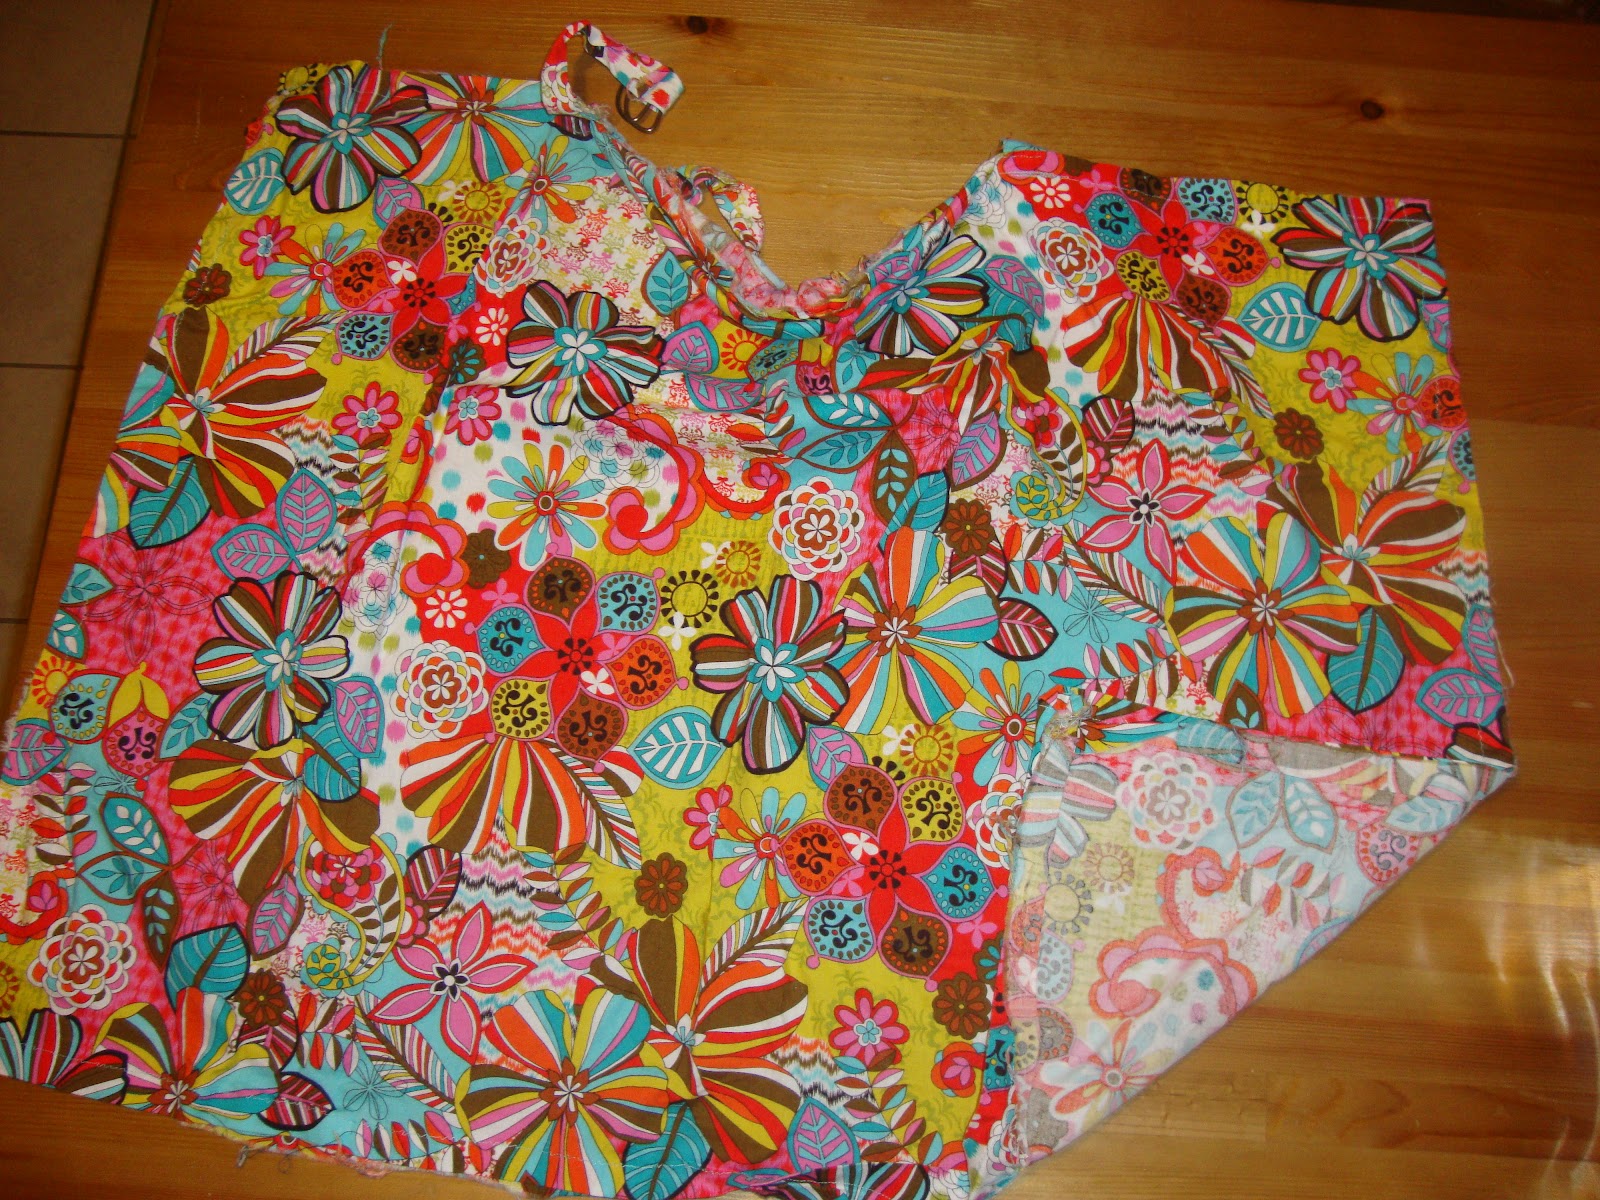
chalkboard placemats and thought those could be made instead of bought.  Well I did find some chalkboard fabric online after asking all of the fabric shops around me who did not know it existed.  I put a design together.  My mom helped me out A LOT with all of the sewing.  We used iron bonding on the material before sewing since we were unsure how the chalkboard fabric would work.  We put two pockets on the front.  I could not find small erasers or sponges so I had to cut some up.  I also did not know about priming chalkboards before the party.  It might have made them all work a little better.  Apparently this is something needed for all chalkboards, even chalkboard paint and chalkboard fabric.

I used:
9 x 11 size pieces of chalkboard fabric which I found here
12 x 18 size pieces for backing and background
4 x 4 size pieces for the pockets
10" ribbon for closing

The pocket squares were folded with a 1/2" on each side.  We used the iron-on adhesive to keep those seams.  Then used more to iron them onto the background and then sewed them on permanently.  The chalkboard got iron-on adhesive strips on it as well.  The iron did not hurt the chalkboard, but we did still put the iron on the backside.  These were then sewed on as well.  Then the background was just sewed onto the backing, with 1/2" turned in on both pieces.  While sewing these two together, the closure ribbon was also sewed in.  They turned out pretty nice. 

This project actually ended up being a lot of work.  But they did turn out nice.  Although the materials were much cheaper than if I were to buy the placemats, the labor would have added up to the cost.  Since I did not have to though, it was nice to save that cash.

For My Valentine

I saw new Valentine Chair Backers which I thought were too cute looking like an envelop and all.  I thought they would be simple enough to make, so I tried.  I made them for my daughter's class and since they are only small toddlers I thought it would be okay to try going very simple with the project.  I planned on the kids decorating them so I just used some felt for the the envelop and practiced my stitching.  I want to make things when I practice instead of just using scraps and not seeing anything in return to know how it will really look.


All I did was cut felt and sewed it all together.  I put some velcro for the strips to connect to the back of the envelop and attach over the chair.  I measured the chairs in the classroom to get the sizing right.

I used:
2 pieces of 12 x 9
1 piece trianglar that was 12w x 4.5h (7.5 on sides)
2 strips of 13 x 1.5w

I just sewed all of the edges with a very simple stitch, and went back with sharp sizzors to clean up the edges.  The felt harts and letters were packets that I could buy all different.

Baby Shower Favors

  
These were where I started.  I think I probably put one of each together and my mom did all of the others.  I was not confident at all and these were to be favors at a good friend's baby shower.  Both are from Martha Stewart.

I thought the tissue case cover would be something that any woman could use.  I did not do the scallop cuts on the ends, but it still looks fine.  They are supposed to be stuffed without the tissues still in the plastic, but I didn't go to that trouble for the favors.


For the essential kit, I think I put hand sanitizer, band-aids, nail files, and q-tips in the pockets for the shower favors.  My own is a little different now since I am using it for kiddo stuff.  The one that I actually care in my diaper bag has some nail clippers with nail files, a little brush, band aids with neosporin, and orajel.

Starting Something New for Me

This is a blog for my crafts.  I am working on getting better at sewing and other crafts.  I wanted to keep track of my progress, so I decided to make sure of my blog which is not being used.